Google+ Mom to 2 Posh Lil Divas: Hand and Foot Print Art
Showing posts with label Hand and Foot Print Art. Show all posts

Monday, April 16, 2012

Earth Day Coffee Filter & Handprint Art


Earth Day is April 22nd.
How are you celebrating and/or preparing your kids?

We talk often about things like recycling,
saving water, conserving electricity and not wasting paper.
But I like to celebrate Earth Day &
spend time to bring awareness to the things we don't often talk about
like endangered animals, the rain forest and pollution
(aside from throwing trash in the garbage bin and not on the floor).


We read the book
and talked about ways the Lil Divas could help the earth.
I really wanted them to understand that we can all make a difference,
that little hands & little things can add up to BIG things!

Then we made some 
Coffee Filter Earth Art

What You Need:
coffee filters
blue & green markers
water
construction paper 
scissors

What To Do:
1. Color the earth on your coffee filter
- this doesn't have to be perfect which is the best part.


2. Take some water (we used a spray bottle) 
and spray onto the coffee filter to blend the colors.

I used a tray to keep the mess contained.

3. Fold a piece of construction paper in half
& trace handprint at fold (see below). 

4. Cut out handprint but make sure to keep fingertips intact -
this will give you a heart in the middle of the handprints.


5. Glue coffee filter onto blue construction paper.


6. Glue handprint on top of earth & add words I and earth onto hands.


Have kids write about why they love the earth 
and how they can help it.

 Need more ideas? 
Check out our other Earth Day activities! 

Bern

Tuesday, December 20, 2011

Made By Little Hands: Homemade Christmas Gift Tags

In order to add a Lil Diva touch to our Christmas presents
we made our own homemade gift tags.

These are so simple to make, fun to create together 
& add a special touch to any present during the holidays.


What You Need:
card stock cut in various Christmas shapes
paint & brushes
crayons
sequins
pom poms
glue


Fingerprint Tree
To make a tree we used the Lil Divas thumbprint in green paint to
make a tree form and a thumbprint in brown paint for the truck.

You can decorate if desired (the Lil Divas opted not to)


Candy Canes
You can make these out of fingerprints by alternating white & red thumbprints.
The Lil Divas wanted to paint theirs.


Christmas Wreath
Using thumbprints dipped in green paint we formed a circle to make a wreath.
Then we dipped a pinky in red paint to make berries. Cute!


Thumbprint Reindeer
I cut out a circular shapes gift tag & made a brown thumbprint
which we later turned into a reindeer.


Christmas Tree
The Lil Divas colored & decorated the Christmas Tree cutouts 
using sequins, pom poms, etc.


Ornaments
They also decorated their own ornament gift tags. I just let them do whatever they wanted. It is a little piece of artwork for whoever receives it with their gift this Christmas.


Wouldn't you LOVE to receive one of these special gift tags on your gift?


We also made some Fingerprint Cards this holiday season.
We shared them over at Hands On: We Grow.
Bern

Sunday, November 20, 2011

Thanksgiving Keepsakes & Traditions: Hand & Foot Print Turkeys

 Thanksgiving Keepsakes & Traditions
By now you know I am addicted to have a fondness for hand & foot print crafts.
Why? They make wonderful keepsakes. 
It's an easy way to hold onto a little bit of your child's childhood.

Every year (for the past 3 years), I have helped the Lil Divas  make a hand & foot print turkey. I LOVE seeing these cute little guys on display. The turkeys appear so much bigger to me this year - makes me a bit sad. My babies are growing so fast. This is exactly the reason why I enjoy having these keepsakes. It freezes time just a little bit and I get to enjoy these small hands & feet that will never be this size again.

Stand-up Hand & Foot Print Turkey


What You Need:
brown, yellow, red & orange construction paper
TP roll
pencil
scissors
glue
wiggly eyes (optional)

What To Do:

1. The Lil Divas traced their hand & foot print.
It is wonderful to see them do this independently -
the tracings are far from perfect but they are all their own which is fabulous!


2. The Lil Divas cut out their footprints. 
I folded the paper over so they made/cut 2 at a time.

3. I cut out the handprints since we needed 6.

4. To make the turkey's body -
we used 2 overlapping footprints and glued them together as seen below.


5. To make the feathers-
glue the 6 handprints in various colors to the back of the body (see below).


6. Attach the turkey to a TP roll to enable it to stand up.


7. Display.
We have them on our dining room table
& they make the cutest centerpieces/decoration.


Handprint Turkey Keepsake

Every year each of the Lil Divas also makes a painted handprint turkey.
I LOVE seeing those little handprints.
It makes me both happy and sad to see how much bigger 
they get from year to year.


What You Need:
brown, red, orange, yellow & green washable paint
card stock
marker

This year even the youngest got to do it on her own.

What To Do:
1. Paint the palm & thumb brown for the turkey's body.


2. Paint the remaining fingers in the assorted colors for feathers


My Littlest Diva enjoyed the hand painting paint part immensely and managed to keep the paint solely on her hand = Fabulous!


3. Press handprint firmly onto card stock.
4. Add an eye, beak, waddle & feet to complete the turkey (see below).

I plan to add a photo of these adorable handprints to our family calendar for next year. I know the grandparent will enjoy seeing these little gems.


Books We Read:


Bern
Looking for more Thanksgiving crafts & fun -
we have more!

Friday, September 30, 2011

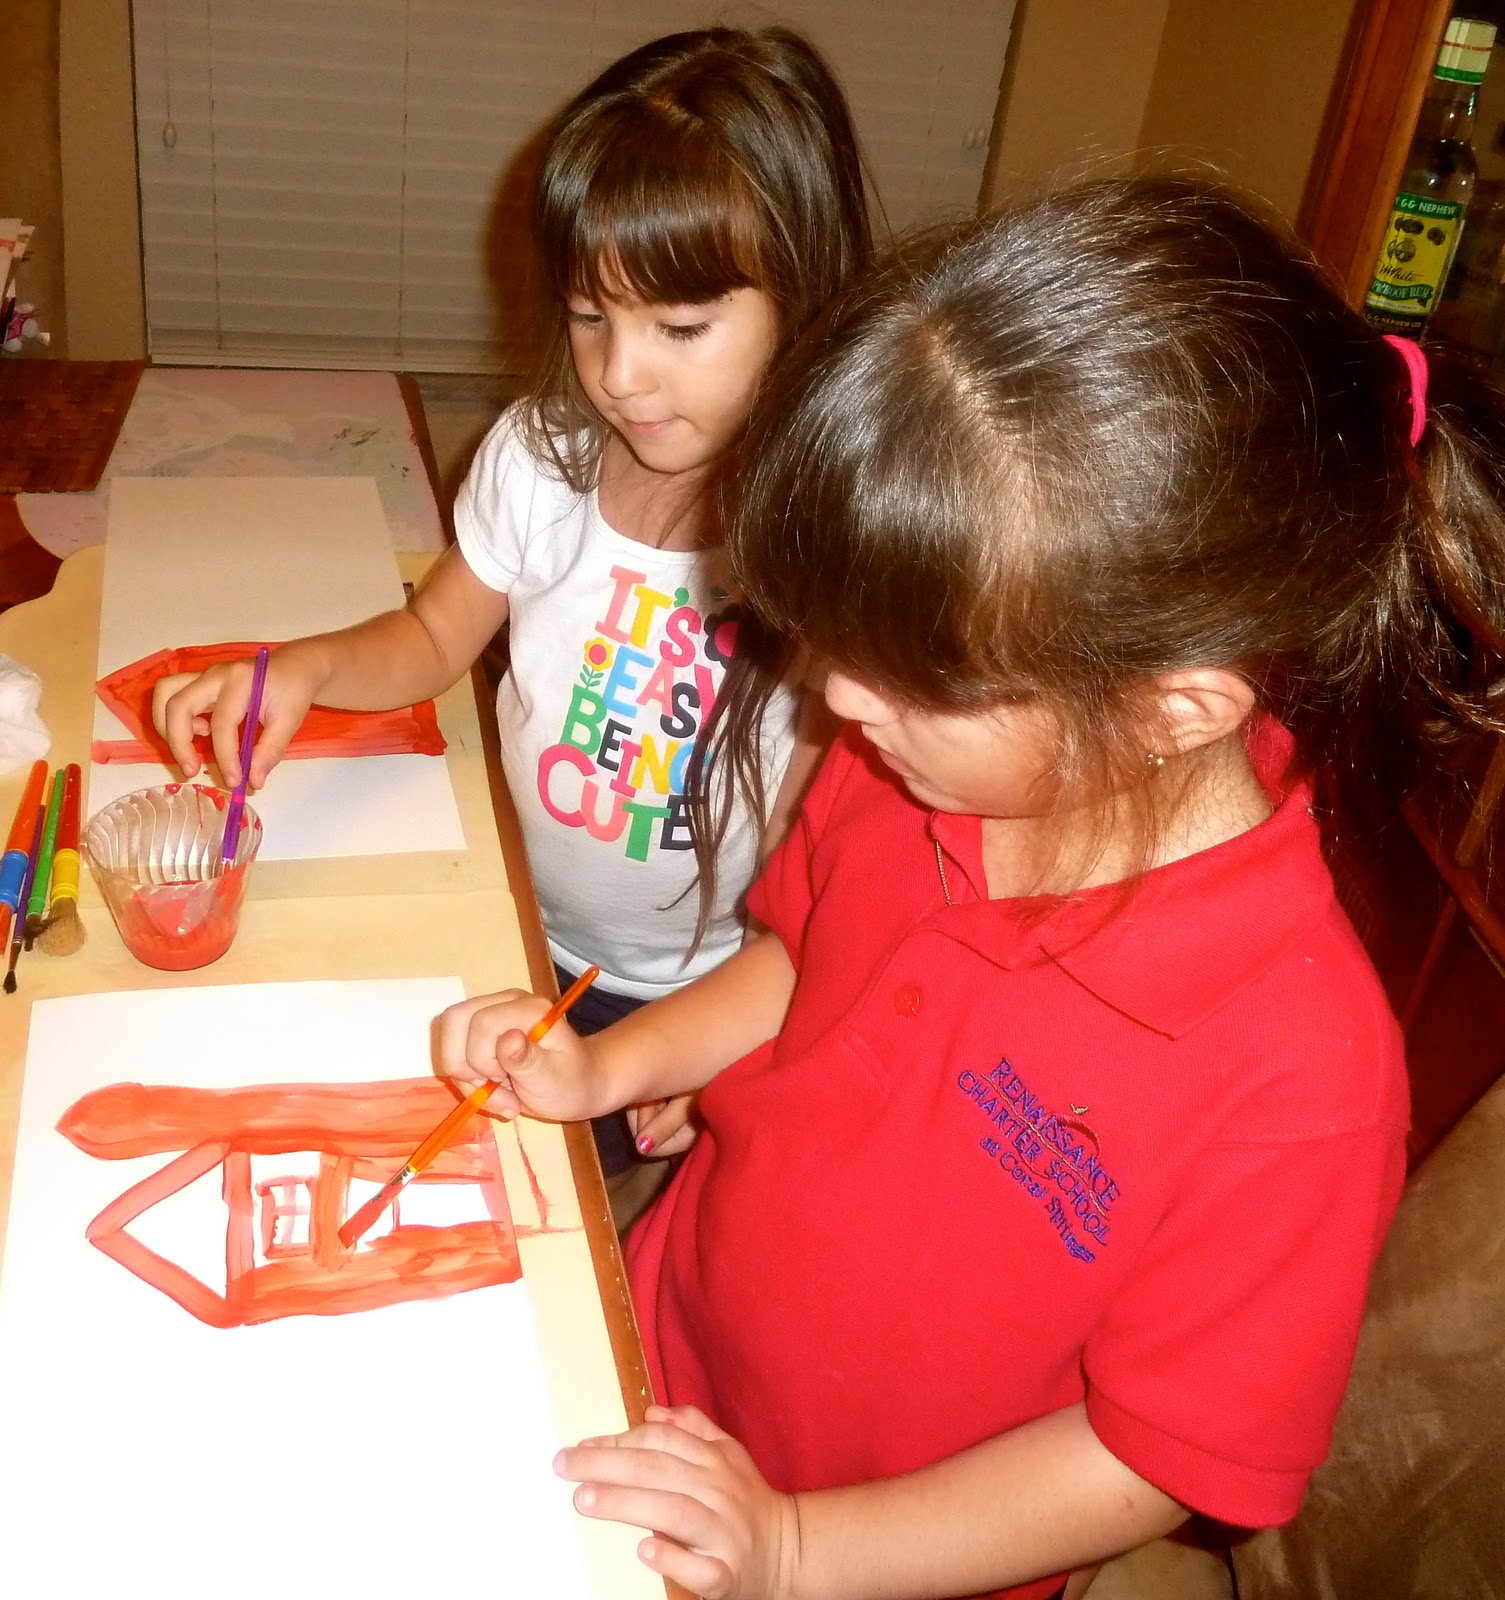
The Big Red Barn & Handprint Farm Animals

We started our Farm Theme by re-reading one of our familiar & favorite books - The Big Red Barn by Margaret Wise Brown!

I used to read the Lil Divas this story every single night when they were babies and into toddlerhood. I could recite it by heart and as the girls got older they could "read" along with me as well.

I was excited to re-visit the story with the Lil Divas and have some fun with farm animals.

Craft: Big Red Barn & Handprint Farm Animals


What You Need:
white paper 
(we taped two pieces together to make a larger sheet)
red, green, brown, yellow & blue paint
paint brushes
cotton balls
glue
wiggly eyes
black & orange permanent markers

What You Do:

1. Draw a big red barn onto the white paper.


2. Add grass if desired.


3. Make Handprint Farm Animals:
- to make a handprint horse paint hand brown 
and press onto paper with fingers pointing downward.
Add mane, tail, eye and mouth using black permanent marker.


 - to make handprint duck paint hand yellow 
and press sideways with thumb pointed upwards.
Use sideways thumbprint to make head.

Add beak and feet using orange permanent marker.
Add eye using black permanent marker or wiggly eye.


- to make a handprint lamb/sheep paint hand black 
and press onto paper with fingers downward.


Add cotton balls to palm to make wool & add wiggly eye.


Add scenery as desired in any remaining space
- trees, sun, etc.


The Lil Divas & I had a great time with this lil project!

Book:


What is your favorite farm book? Have you read The Big Red Barn?

Bern
Thursday, August 11, 2011

Animal Cracker Math, Handprint Zoo Animal Art & Counting Books, Oh My!

Our Zoo Theme was full of hands-on learning fun.

There are so many things I wanted to share with you.
Unfortunately, I did not capture all of our fun on film :(

Today, I will share a few fun activities that I managed to capture!

 Handprint Zoo Animal Fun:
I just can't resist a cute handprint craft opportunity!

What You Need:
yellow, brown, black & white paint
thin paint brushes
construction paper
permanent markers
What We Did:

To Make a Handprint Giraffe:


1. Paint entire hand with yellow paint & press firmly to paper


2. Using pinky dipped in brown paint add spots & hooves


3. Add tail, hair & face (we used permanent marker for face)


The Lil Divas Handprint Giraffes:

5 yr. old                           4 yr. old


To Make a Handprint Zebra:

1. paint hand white


2. press firmly onto paper


3. using pinky draw tail & add dot of block (hair)


4. using thin paintbrush use black paint to add stripes as desired


4. add some hair and facial features (we used black permanent marker for face)
& behold your adorable handprint zebra!


The Lil Divas Handprint Zebras
5 yr. old                               4 yr. old

A fun activity, cute craft & fabulous keepsake!

At the Zoo - An Easy Reader Conuting Book:
This was a homemade easy reader activity for my soon to be Kindergartener.
The Littlest Diva did it too & she did really well.


I kept it simple going from #1-5 and used a repetitive phrase with sight words and words that she should know. It was fun for her to make her own book and then read it to all of us!

What You Need:
3 sheets of white paper
zoo animal stickers
pencil


What We Did:

I typed out a general template for the book with a title page and then a page for 1-5 zoo animals that said "I can see (fill in number) (fill in animal) at the zoo. I had the numbers pre-done. The Lil Divas choose 5 animals to use in their book and put on the correct number of stickers for each page. I then helped them spell the animal word and they added it to each page accordingly.


Once we were all done with our books -
the Oldest Diva got to read hers to us!

The Littlest Diva needed help but she read quite a bit of it on her own too!

I am so proud of their developing reading!


Here is a full peek at what our books look like:


 Simple, straight forward and a wonderful math, writing & reading activity!

Animal Cracker Math:
We LOVE working with food! The Lil Divas get such a kick out of it.
Animal crackers are a fun manipulative so I decided to do let the Lil Divas do some basic addition with them.


What You Need:
Animal Crackers
dice
dry erase board
dry erase markers

What We Did:

1. I gave each Lil Diva a large foam dice.

2. They rolled the dice and wrote the number on their dry erase board. 
Then they put down the corresponding number of animal crackers.

3. They rolled a 2nd time and added the new number to their dry erase board forming an addition problem by putting the + sign between the numbers. Then they added the corresponding amount of crackers for the 2nd roll and added/counted them all up to determine their total!


4. They wrote down their answer (making sure to include a = sign)
and I checked it before they moved on to a new problem!


They really enjoyed practicing addition with animal crackers &
after we were all done - they got to have a yummy snack! :)

Handwriting Practice - Letter Z
In a previous post I shared that we formed the letter Z with foam and drew it on a ziploc baggie full of paint.

I noticed that the Littlest Diva was having trouble with slant/diagonal lines which you need to be able to do to properly form a letter Z. I found a great printable that her practice slant lines here.


Once she was able to make the slant lines on her own -
we worked on writing the Letter Z.

She is now able to write the Letter Z wonderfully & she makes great slant lines! Can I get a YAY!, for the Littlest Diva! She takes her handwriting so seriously - always competing with Big Sis.


Practicing Measurement & Basic Ruler Skills

Finally, I wanted to share this fun little book I found with you:


This is a thick board book that comes with a ruler attached (stores in a clear plastic pocket attached to the cover.
Each page of the book has something to measure (it tells you what to do in the text).

The Lil Divas LOVED measuring the animals & items in the book!

This was a really cute book that went great with our zoo theme
& provided some extra ruler practice.

Some Other Zoo Books We Read:


I hope you enjoyed what we shared of our Zoo Themed Fun!
Bern